
LED and Felt Brooch
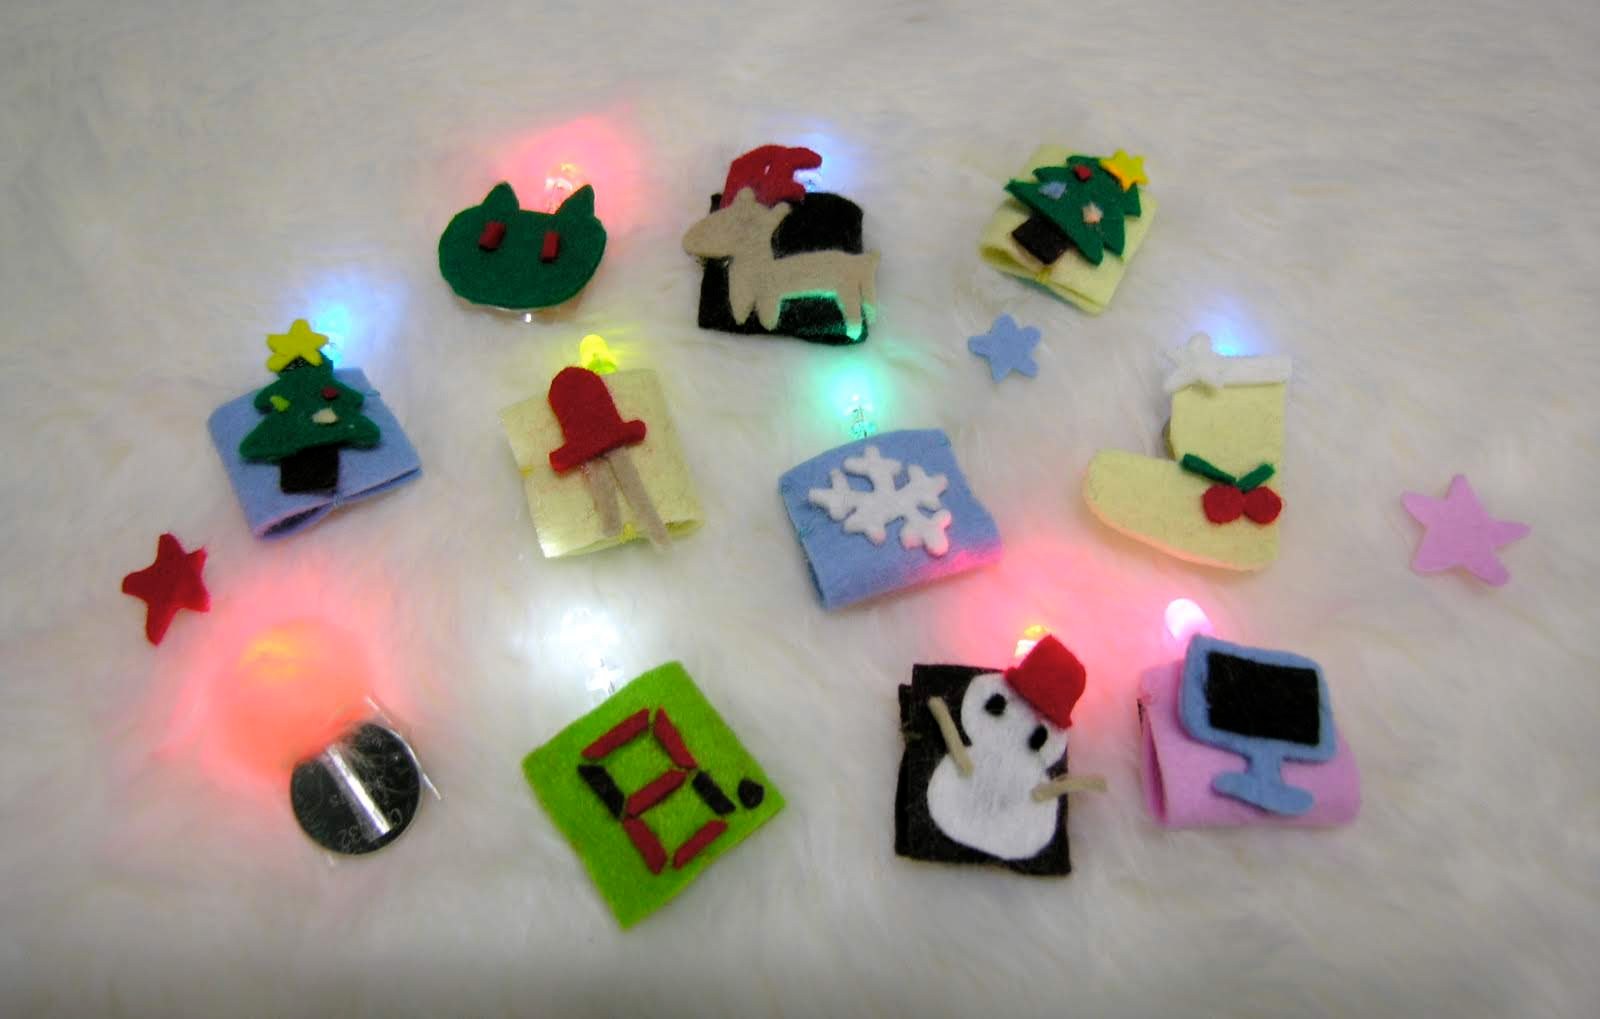
This time we made a brooch using an LED (light-emitting diode). LEDs are wonderfully convenient parts that shine pretty brightly on just a little bit of electricity. We love LEDs.
Now, here's how it's made.
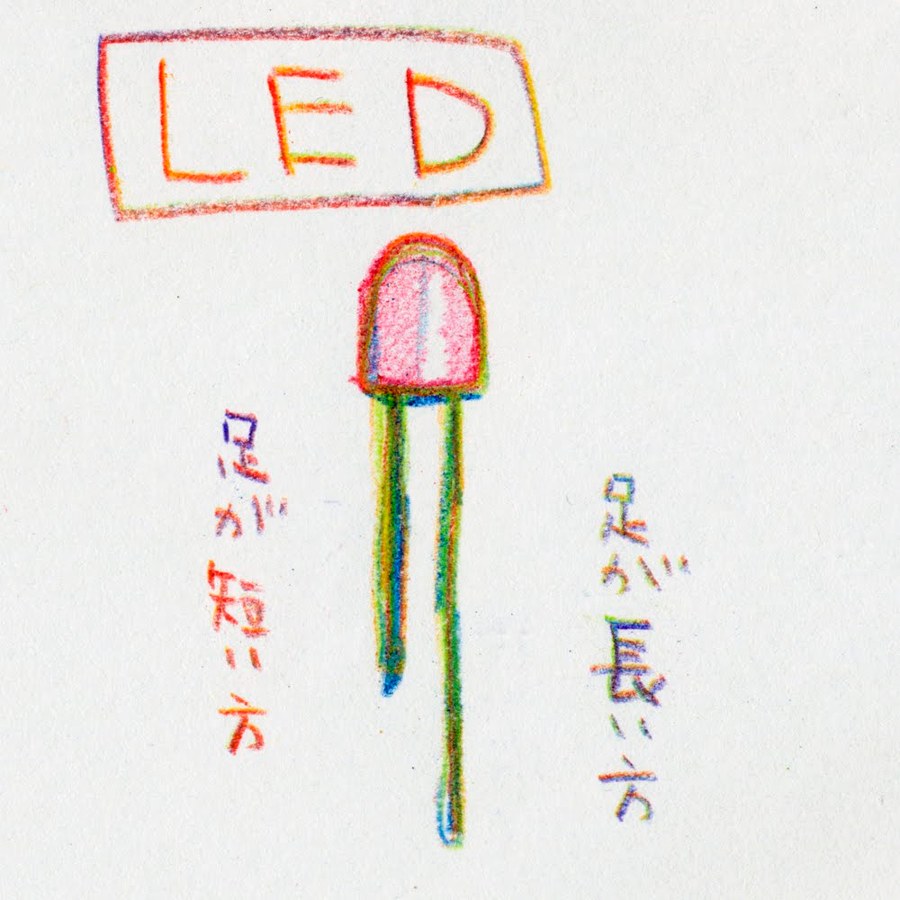
This is an LED. Just sandwich a coin battery between its legs and it lights up — that's all it takes. The LED has two legs, one long and one short.
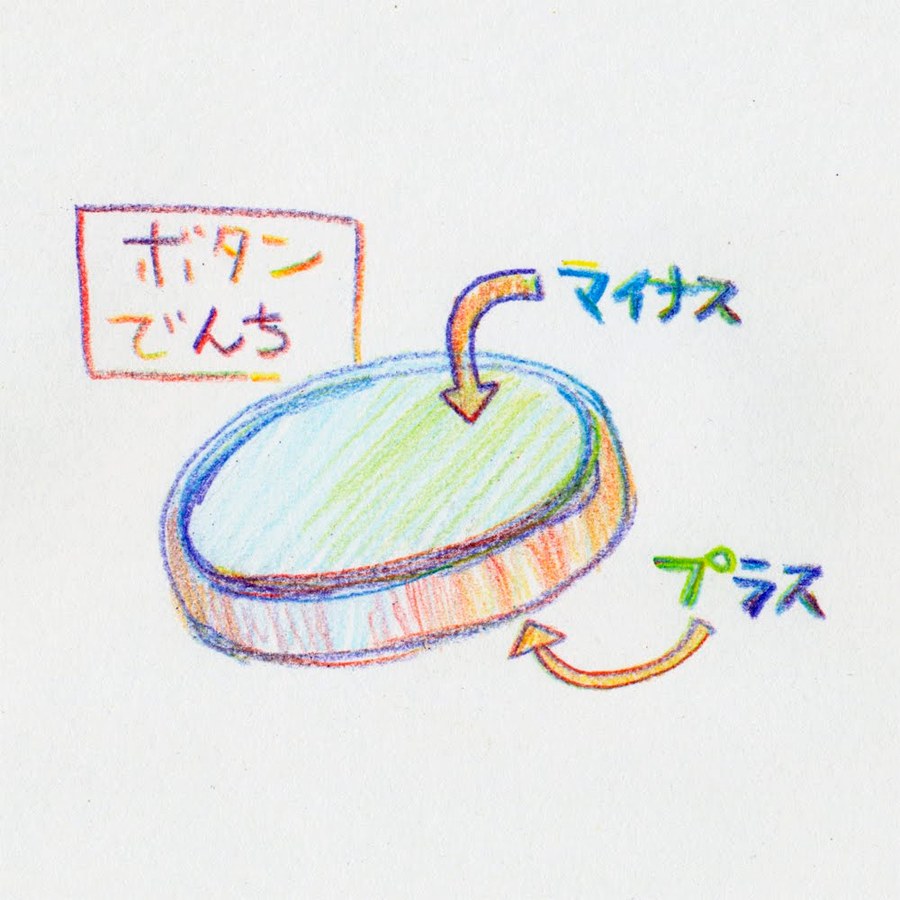
Coin batteries are a little confusing: the flat side is the plus (+) side, and the side with the raised rim is the minus (−) side — the opposite of an ordinary battery, so watch out.
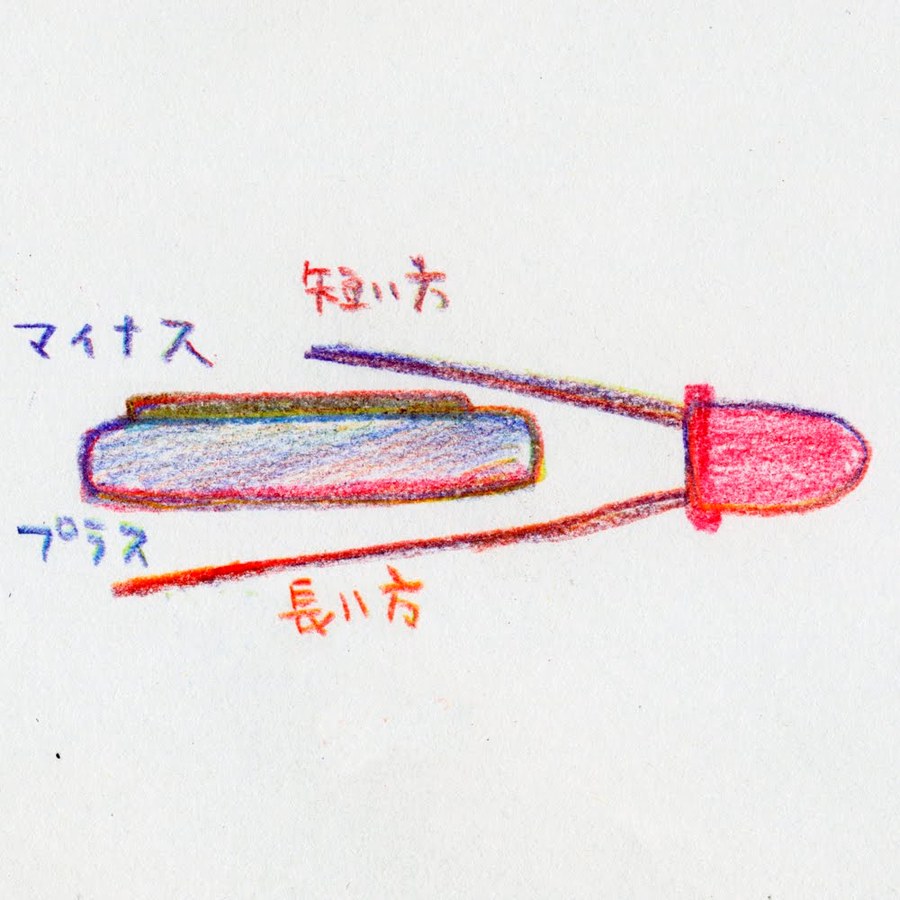
When you sandwich the battery with the LED's legs, attach the long leg to the plus side and the short leg to the minus side. Attach it backwards and it won't light up.
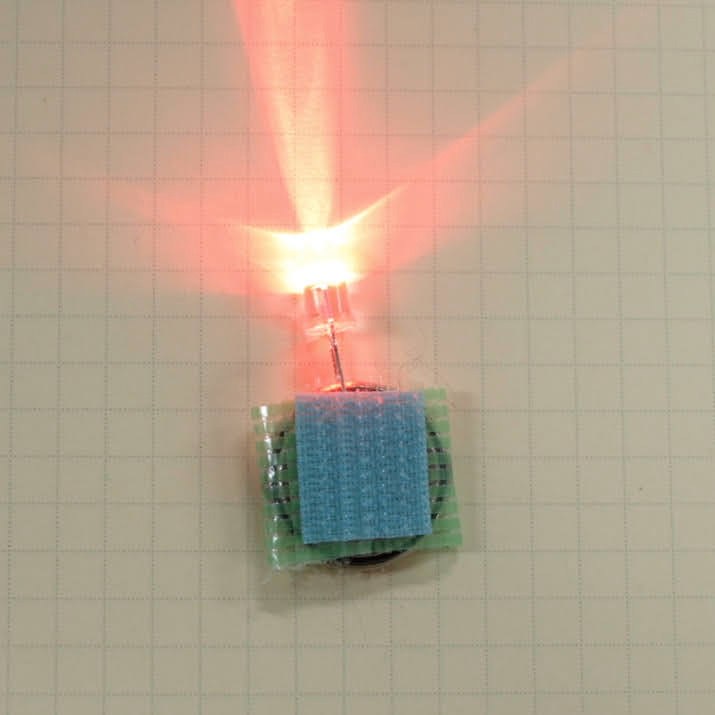
Once the battery is sandwiched in place, wrap it with tape. Try attaching hook-and-loop tape (Velcro) to the back — now you've got a light that can stick to a sweater!
This is the Techno-Shugei Club's version of the LED throwie. What we took as our reference was a piece by Graffiti Research Lab called the LED throwie. It had a magnet attached, so it could be stuck onto buildings, trains, and other things.
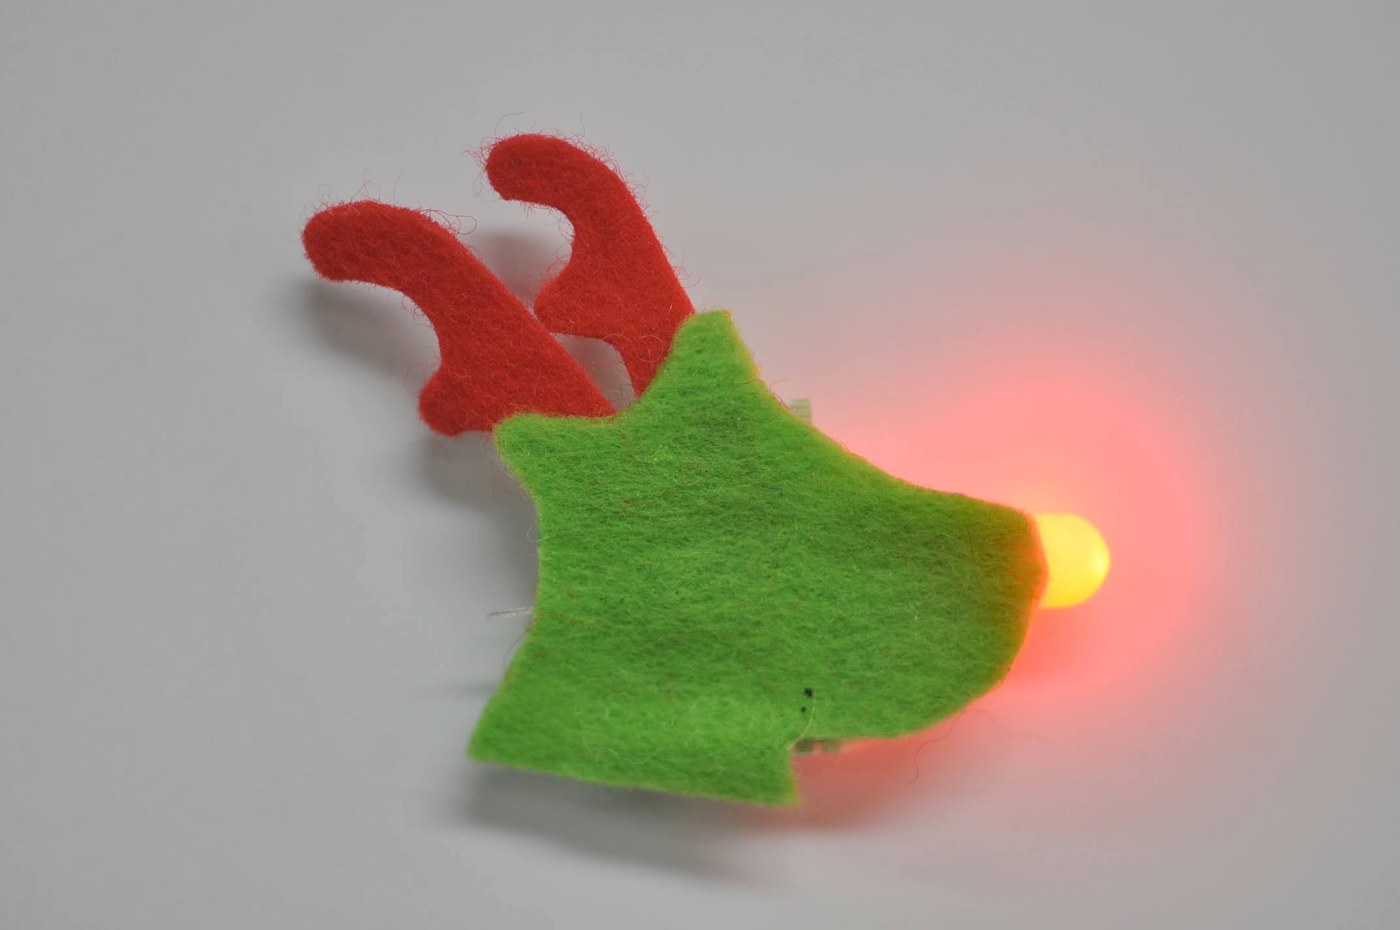
Add some felt, and it gets even cuter!
This Christmas, why not sneak some illumination onto someone's back too?
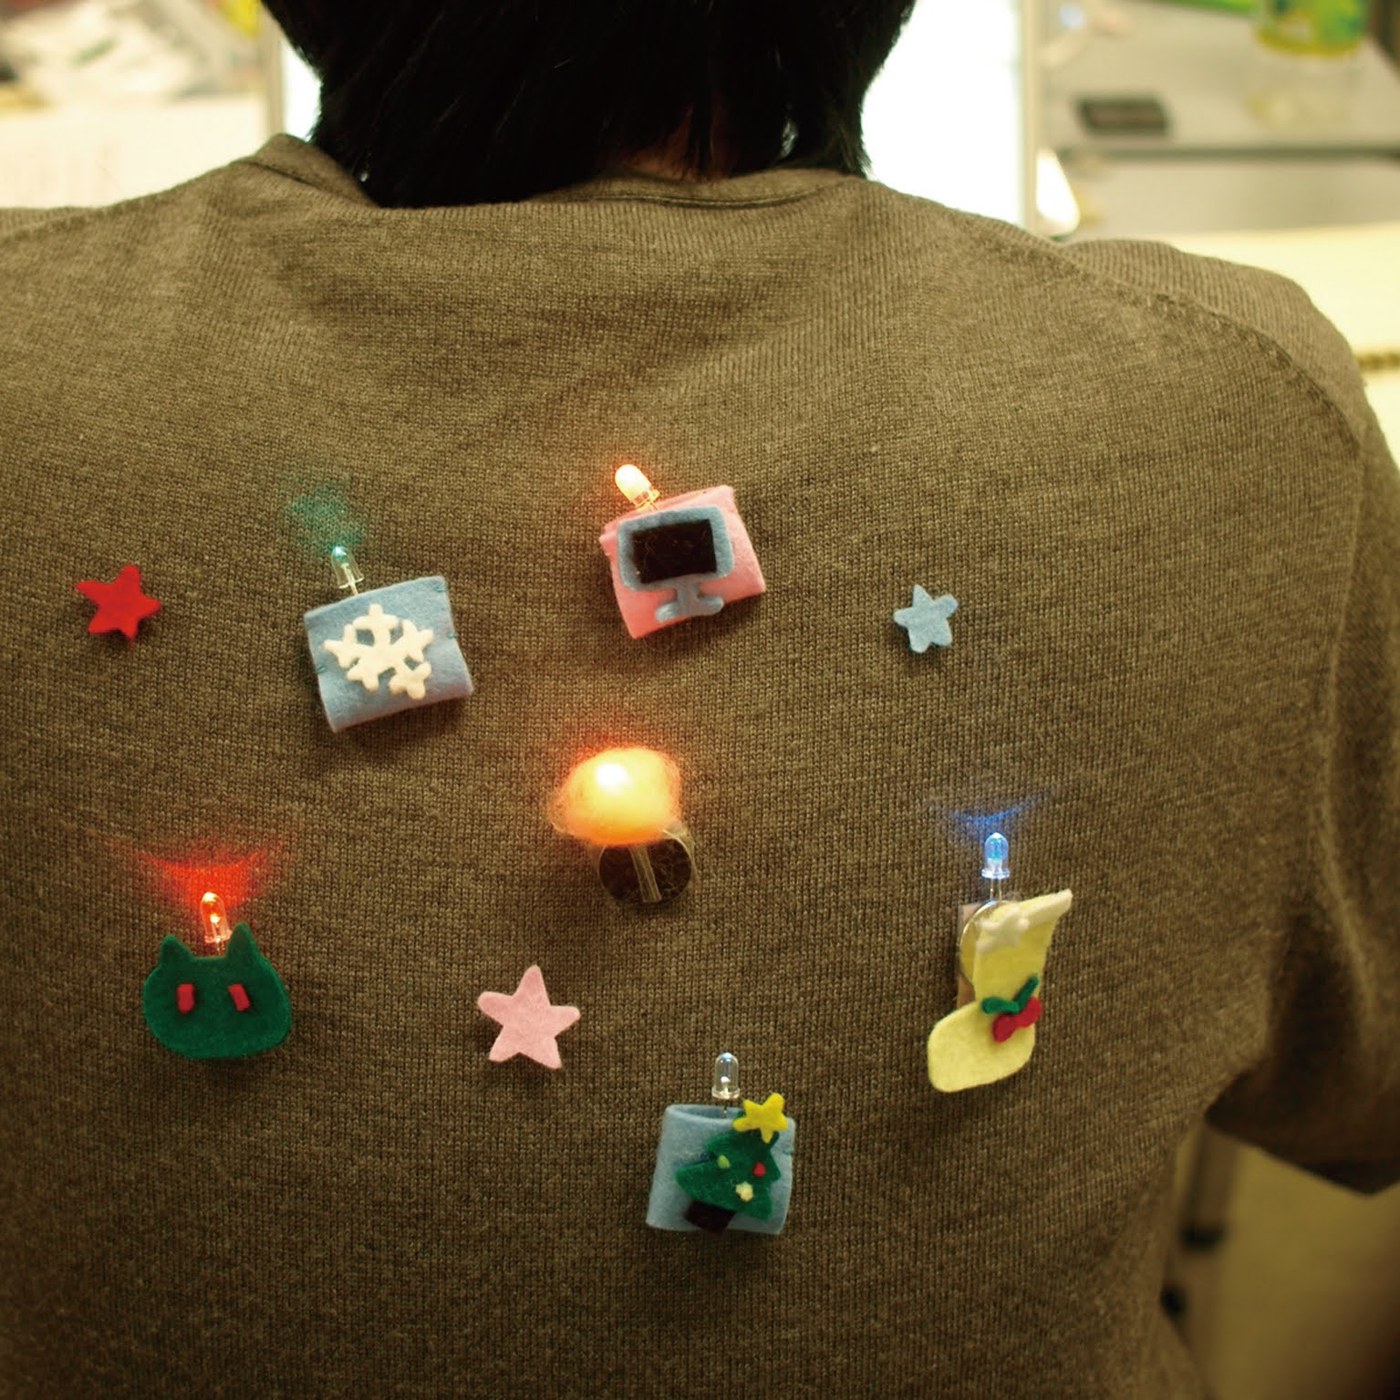
Materials: felt, LED, coin battery, hook-and-loop tape
This work's making-of process is also recorded in the original blog post: Read the original post →